Detailed EGR Delete Installation for Duramax L5P Owners
Step-by-Step Installation Guide for SPETUNER EGR Valve Cooler Delete Kit for 2017+ 6.6L Duramax L5P
Quick Answer:
To install an L5P EGR delete kit, plan 4–6 hours, disconnect both batteries, drain the coolant, remove the passenger-side fender liner, remove the intake and EGR cooler components, install the block-off plate and coolant reroute hose, then refill coolant and inspect for leaks. This job requires diesel repair experience, swivel sockets, long extensions, a torque wrench, and proper coolant handling. The truck also needs matching off-road-use ECM tuning after the EGR system is removed. This modification is for off-road or competition-use vehicles only where allowed by law, not public-road trucks.
Track Use Only Note: This upgrade is designed and sold strictly for off-road or competition use where allowed by law. Bypassing, removing, or disabling factory emissions systems on public-road vehicles violates emissions regulations. Check federal, state, and local laws before turning a wrench.
Garage Specs:
- Time Required: 4 to 6 hours for experienced DIY mechanics.
- Supported Models: Built specifically for 2017, 2018, 2019, and newer L5P Duramax trucks.
- Required Tools: Standard sockets, 10mm, 13mm, 15mm, universal swivel joints, torque wrench, and coolant drain pan.
- Offline Resource: Use the official print-ready PDF manual linked below for workbench reference.
Introduction
Clogged EGR coolers, heavy carbon buildup, and blown head gaskets are common failure points on Chevy Silverado and GMC Sierra HD diesel trucks. Installing a SPETUNER L5P EGR Delete Kit bypasses these emissions-related failure points for off-road and competition-use builds.
This guide breaks down the complete teardown and assembly process into clear steps for your garage build. It is written for owners who already understand diesel exhaust work, coolant handling, sensor wiring, and off-road-use tuning requirements.

This kit uses precision-engineered block-off plates and reinforced high-temp coolant reroute hoses. It is designed to block dirty soot from entering the intake manifold in off-road and competition-use applications.
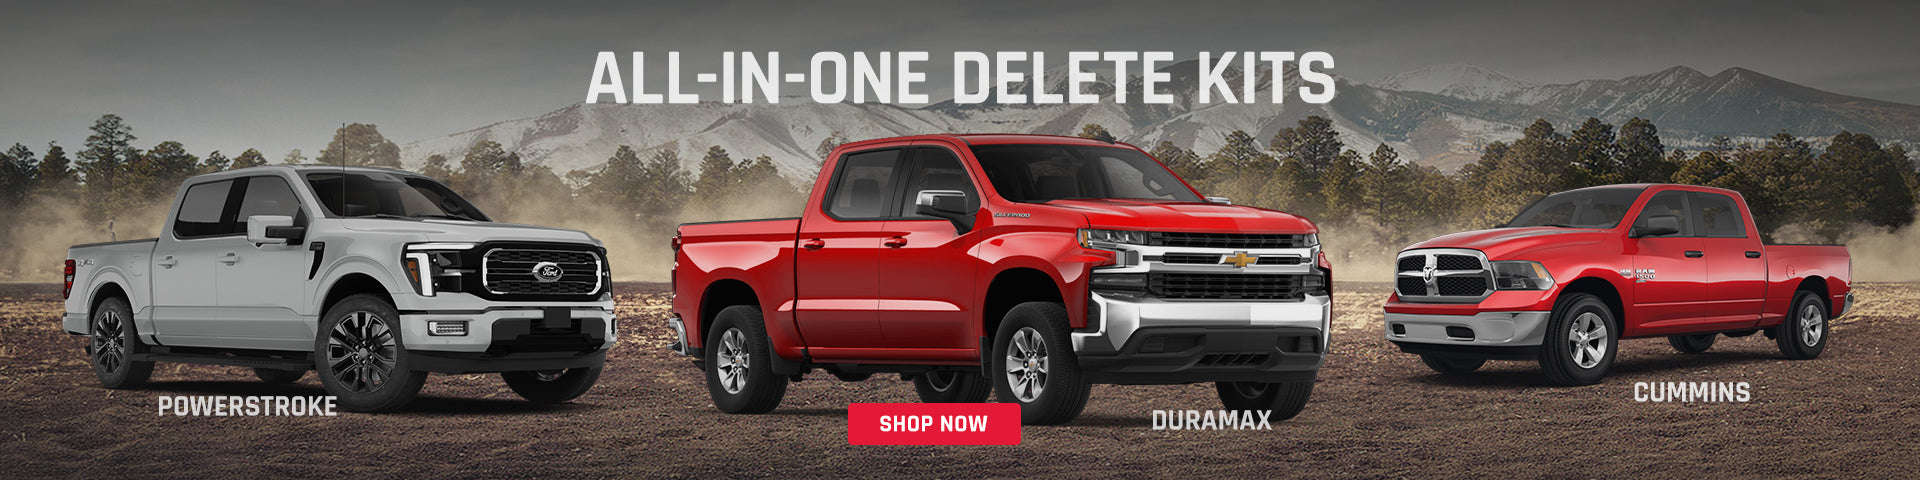
Planning a complete transformation instead of only an EGR-side change? Review the L5P All-in-One Delete Kit to compare full exhaust and tuning options.
Download the L5P EGR Delete Installation PDF
Do not get grease all over your phone screen. Download the official printable manual and keep it on your workbench during the install.
📥 Download the Official SPETUNER L5P EGR Delete Instructions PDF Here

Does This Guide Fit Your L5P Truck?
This guide covers the 2017, 2018, 2019, and newer L5P engine platform. The engine block, turbo layout, and EGR mounting points are similar across these L5P model years.
Year Compatibility: 2017-2019 L5P vs. 2016 LML Duramax
Warning for 2016 owners: If you drive a 2016 Silverado or Sierra HD, your truck uses the older LML Duramax engine. The layout is different from the L5P. Do not use this guide. Instead, visit the Duramax EGR collection for LML-specific resources.
The Pre-Wrench Checklist
Required Tools
- Standard metric sockets: 10mm, 13mm, and 15mm.
- 1/4-inch and 1/2-inch drive torque wrenches.
- Universal swivel joints and extra-long extensions for firewall bolts.
- Flathead screwdriver and automotive pry bar.
- Hose clamp pliers and a clean coolant drain pan.
Preparation
- Park the truck on a flat, level surface and set the parking brake.
- Disconnect the negative cables from both batteries to protect the electrical system.
- Let the engine cool completely. Hot diesel exhaust manifolds and coolant can cause severe burns.
- Keep clean shop rags nearby to cover open intake ports during teardown.
Step-by-Step Teardown and Installation
Part 1: Drain and Access
-
Drain the engine coolant.
Locate the radiator drain petcock on the lower passenger side. Place your drain pan underneath and loosen the valve. Keep the coolant reservoir cap screwed on tight at first to control fluid flow and reduce splashing.
-
Remove the passenger-side fender liner.
Unbolt and remove the inner plastic fender liner on the passenger side. This opens up sightlines and tool access to the lower engine components.
Part 2: Upper Component Removal
-
Pull the factory air intake.
Loosen the band clamps and unplug the mass airflow sensor. Remove the intake tube and factory airbox assembly to clear the top passenger side of the engine bay.
-
Pull the EGR hot-side pipe.
Unbolt the six 13mm fasteners holding the hot-side exhaust crossover pipe. Set the heat shields and factory pipe aside.
-
Remove the turbo intake horn.
Use a 13mm swivel socket with a long extension to back out the two bolts holding the intake horn. Unclip the PCV hose from the horn using a flathead screwdriver and lift the horn out.
-
Remove the fuel Y-bridge.
Carefully unplug the wiring harness running across the top of the Y-bridge. Pop free all plastic clips. Loosen the belt tensioner and slip the serpentine belt off the AC compressor pulley. Use a 10mm socket to remove the eight bolts holding the Y-bridge down. Lift the bridge free.
Critical step: Cover the open intake runner ports immediately with clean shop rags so nothing drops into the engine.
Part 3: Turbo and Lower EGR Teardown
-
Pull the turbocharger assembly.
Note: The turbo must be moved or removed to get the large EGR cooler out safely. Disconnect all oil feed, oil return, and coolant lines feeding the center cartridge. Back out the four 15mm turbo pedestal mounting bolts. Carefully lift the turbo out of the engine valley. Unbolt the adjacent factory SCR downpipe section.
-
Extract the EGR cooler assembly.
With the turbo out of the way, disconnect the remaining lower coolant hoses. Unbolt the lower EGR assembly from the exhaust manifold using a 13mm socket. Work the bulky cooler assembly out of the back of the engine bay.
Part 4: Install the SPETUNER Upgrade Hardware
-
Install the exhaust manifold block-off plate.
Line up the heavy-duty SPETUNER exhaust block-off plate on the exhaust manifold using the original factory bolts. Torque these bolts to 25 ft-lbs to help create a leak-free exhaust seal.
-
Run the coolant reroute hose.
Take the reinforced coolant hose included in the kit. Loop it across the factory bypass ports to bridge the circuit left open by the missing cooler. Secure both ends with the provided heavy-duty worm-gear clamps. Insert the billet block-off plugs into any remaining unused sensor or vacuum ports.
-
Reassemble the engine valley.
Drop the turbo back onto its pedestal using a fresh pedestal gasket. Torque the four 15mm mounting bolts to 43 ft-lbs. Reattach the high-flow race downpipe if your off-road setup includes one.
-
Reinstall the intake tract.
Remove the shop rags from the intake runners. Reseat the Y-bridge using the original bolts and torque them to 89 inch-lbs. Reinstall the serpentine belt, intake horn, PCV hose, and airbox assembly.
Part 5: Refill and Leak Inspection
-
Refill and bleed coolant.
Tighten the radiator petcock. Pour fresh 50/50 Dex-Cool coolant into the reservoir tank. Leave the cap off, start the engine, and let it idle. Watch the tank as air pockets bubble out. Top off the fluid as the engine reaches normal operating temperature.
-
Run the final inspection test.
Check underneath the frame rail and behind the block using a flashlight. Inspect for weeping coolant or hissing exhaust leaks. Use a closed-course test loop to verify turbo spool, throttle response, and leak-free operation.
Support for Your Entire Diesel Fleet
Working on an older 6.6L LML, an LBZ, or a modern L5P platform? Browse SPETUNER Duramax EGR kits for block-off plates, coolant reroute hardware, and off-road race-use components built for diesel heat and vibration.
References
- SPETUNER: "EGR Valve Cooler Delete Kit for L5P 2017+ 6.6L Duramax." Available from SPETUNER.
- SPETUNER: "Official L5P EGR Delete Manual PDF." Available from SPETUNER.
- SPETUNER: "DPF/EGR/DEF Delete 2017-2023 L5P 6.6L Duramax All-in-One Kit." Available from SPETUNER.
- U.S. Environmental Protection Agency: "Clean Air Act vehicle and engine enforcement information." Available from EPA.
FAQ
Q1: How long does the L5P EGR delete installation take?
A1: Expect it to take 4 to 6 hours if you are a skilled DIY mechanic. The firewall-side bolts are tight, and swivel joints with long extensions are usually needed.
Q2: Can I get these instructions as a downloadable PDF?
A2: Yes. SPETUNER provides a print-ready PDF manual linked near the top of this article. It is useful for garage work because you can keep it on a workbench instead of handling your phone during the install.
Q3: Does this install guide work for 2020+ L5P models?
A3: Yes, this guide is intended for the L5P engine platform. While the transmission changed to a 10-speed in 2020, the L5P engine layout and EGR routing remain similar enough for this guide. Always confirm product fitment before installation.
Q4: Do I need a custom engine tune after blocking the EGR?
A4: Yes. If the EGR system is removed or blocked without proper off-road-use ECM tuning, the truck can throw codes, enter limp mode, or start a speed-limit countdown. Hardware and software must match the build.
Q5: Is a 2016 Duramax EGR delete identical to this?
A5: No. The 2016 Silverado and Sierra use the older LML Duramax layout. The cooler placement, turbo lines, and engine bay routing are different. Use an LML-specific kit and guide instead.

Lars
Diesel Performance Engineer | 15+ Years EXPERIENCE
"Empower Your Beast: Run Cooler, Pull Harder, Last Longer."